Previously on the Journey
Back on Route 341, the journey continues
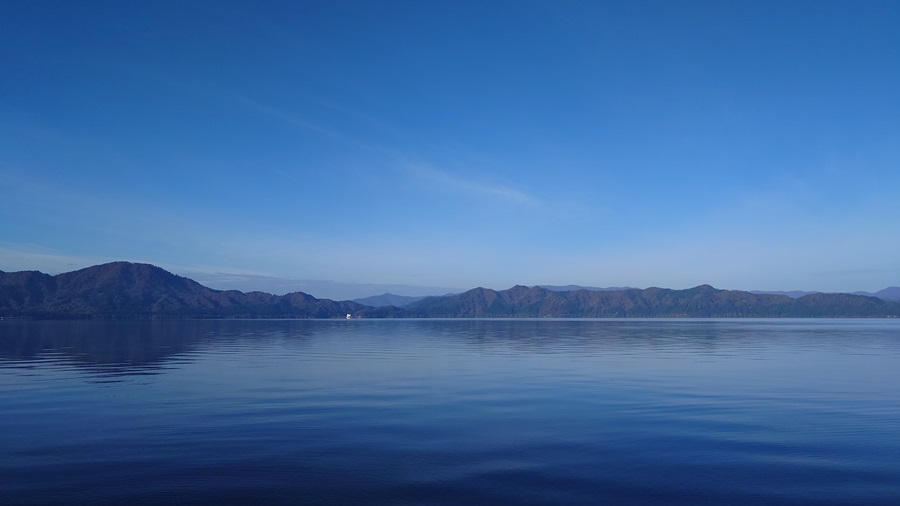
I drifted in and out of sleep a few times before finally getting up for good at 6 a.m.
The sky looked a bit cloudy at first, but by sunrise, it had cleared up completely—bright, beautiful weather. Considering how it had been raining nonstop wherever I went since autumn started, I felt pretty relieved.
Once I confirmed the blue sky, it was time to make breakfast.
Normally, you’d think I’d go for some picturesque camp meal, but after enough trips like this, you just want to get breakfast over with quickly.
So, I just dropped a raw egg into a pack of instant noodles, and that was it (laughs).
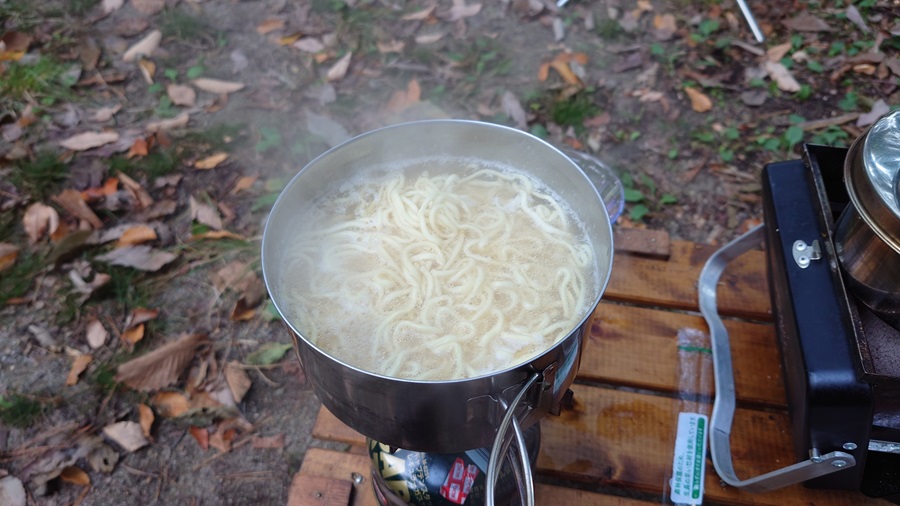
Well, at least I wanted to have a decent cup of coffee, so I brewed some of the good stuff I brought from home.
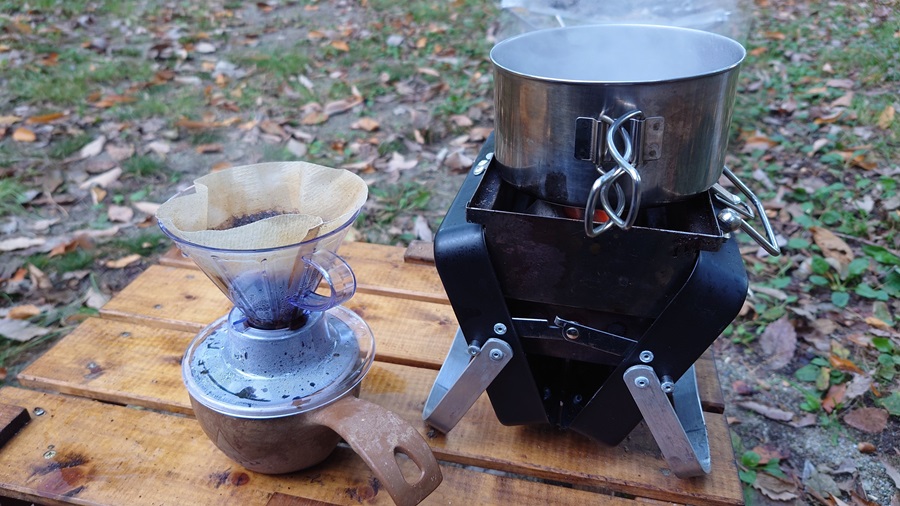
I planned to whip up coffee and ramen efficiently, but the gas pressure just wouldn’t rise, leaving the stove flame barely flickering.
Looks like late autumn calls for high-power gas or a gasoline stove instead.
Since I couldn’t ride the bike directly into the tent site and had just revamped my gear setup with new containers and bags, I couldn’t get everything packed up efficiently. In the end, I didn’t leave Tazawako Campground until 8:30 (laughs).
Ideally, once I start packing up, I’d like to have everything strapped down within 30 minutes.
Route 341 is right next to Lake Tazawa, so there’s no chance of getting lost. The autumn foliage might be past its peak, but the colors are still vivid enough to keep me entertained.
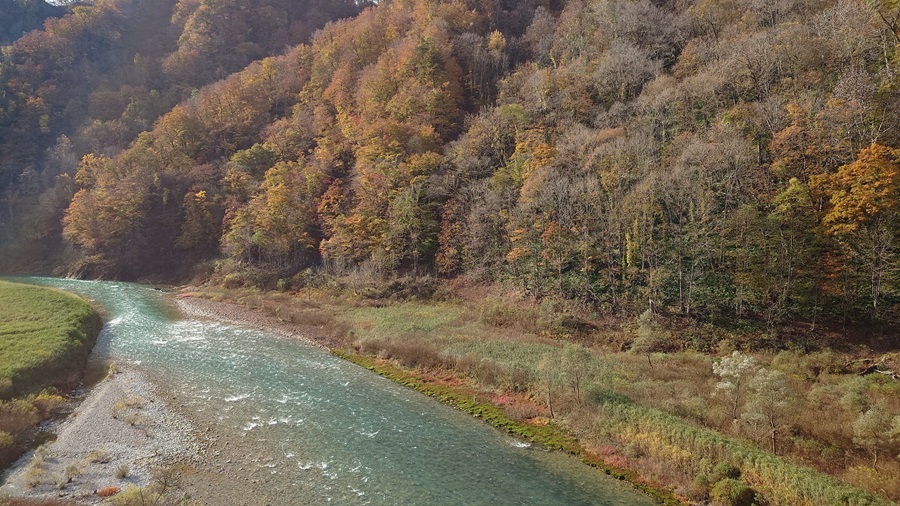
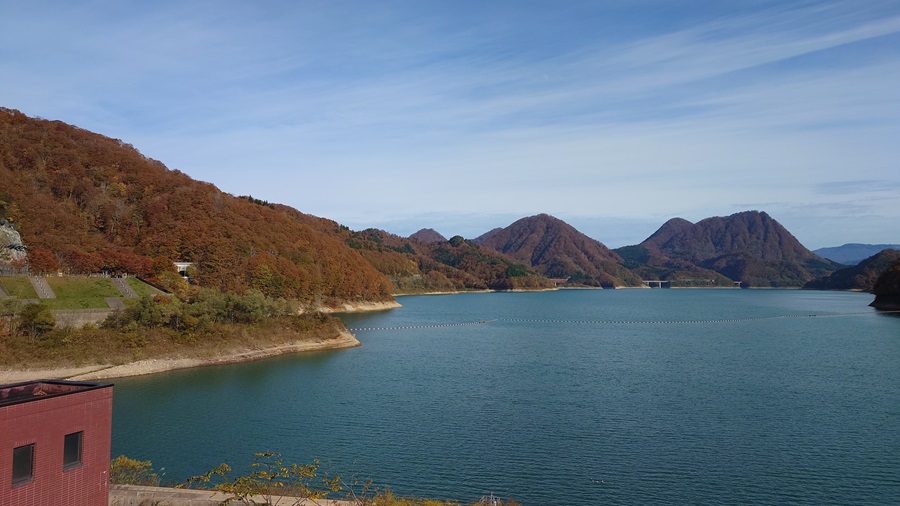
I know I’ve said it a million times, but I just love the sight of a river running alongside the road.
It makes sense, I guess—roads have been built following rivers since ancient times, so scenes like this are pretty common.
Still, there’s just something about it that really puts me at ease.
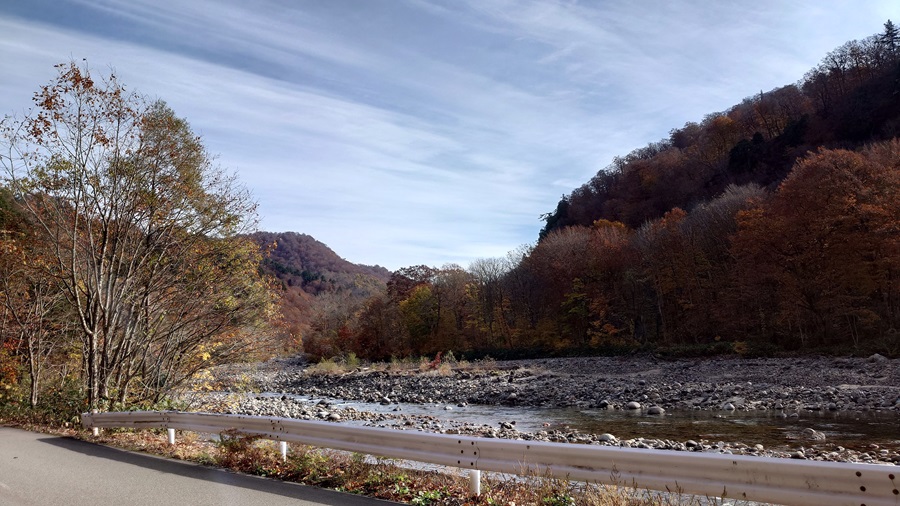
Route 341 — Goal reached
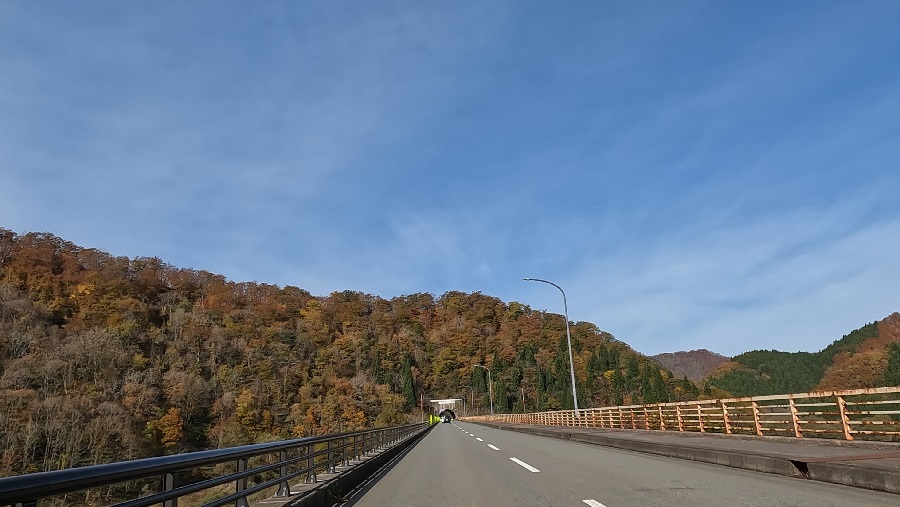
The road, which probably gets packed during peak season, is almost entirely mine today.
Still, the temperature hasn’t warmed up enough, and it would definitely be chilly without overpants.
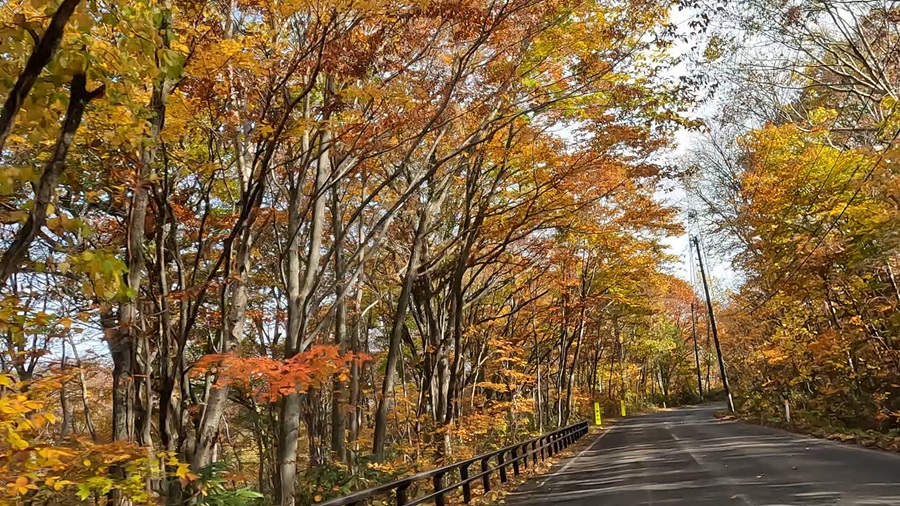
As I continue along Route 341, looking up at the towering mountains of Hachimantai, I come across a turnoff for the Aspite Line.
Actually, I had planned to stay at a campground just past that turn, but it closed for the season on October 28.
I’ll have to come back for a rematch someday.
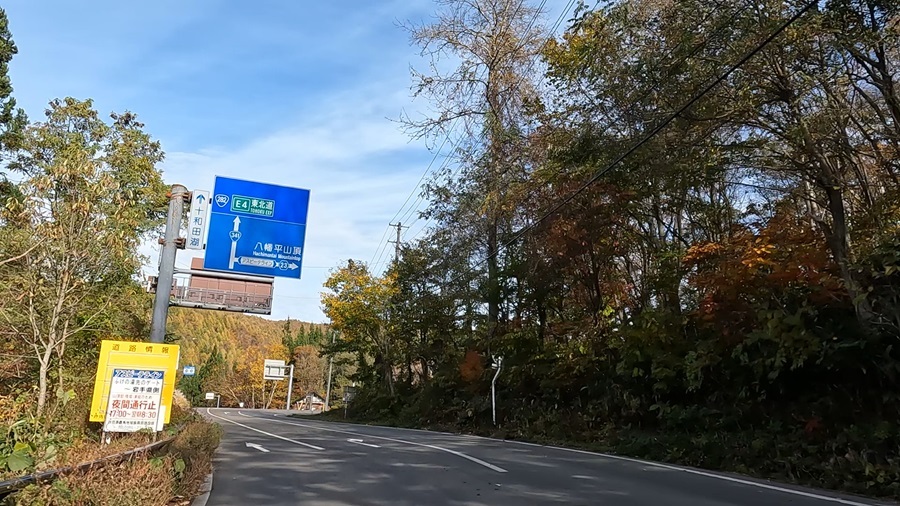
By the time I get this far, Route 341 is nearing its end.
After winding down the road for about 20 minutes, I finally reach the terminus around 10 a.m.
Just like the starting point, the end is just an ordinary intersection, so I snap a photo from a little distance away.
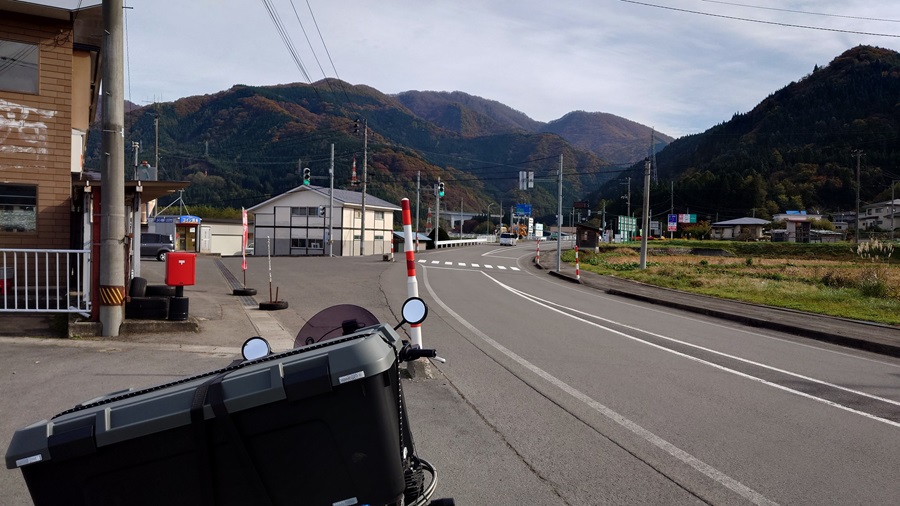
After refueling in Kazuno City, I take a moment to decide which way to go.
Ideally, I would have loved to see the autumn colors of Oirase Gorge, but considering I need to get back home today, that’s just not realistic.
So, even if it’s a bit awkward, I decide to double back on Route 341 and take the Aspite Line instead.
Time to hit the Aspite Line and see what it’s got to offer
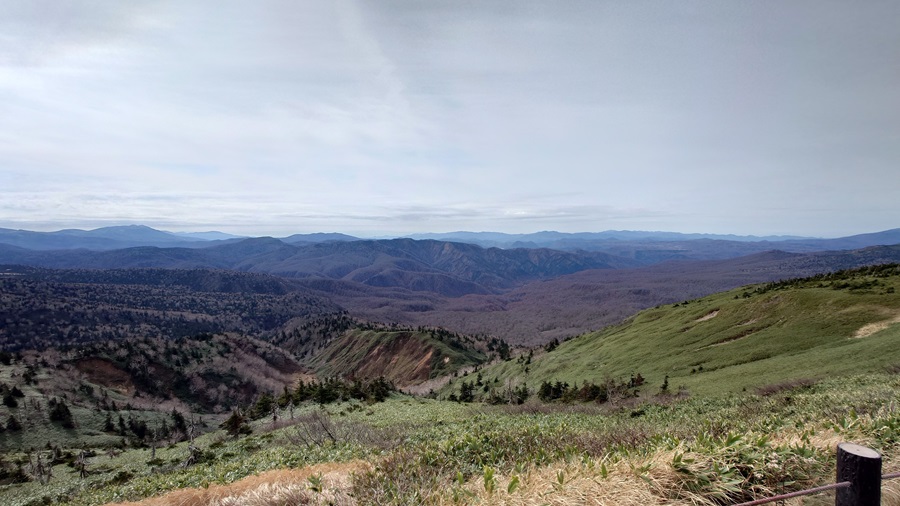
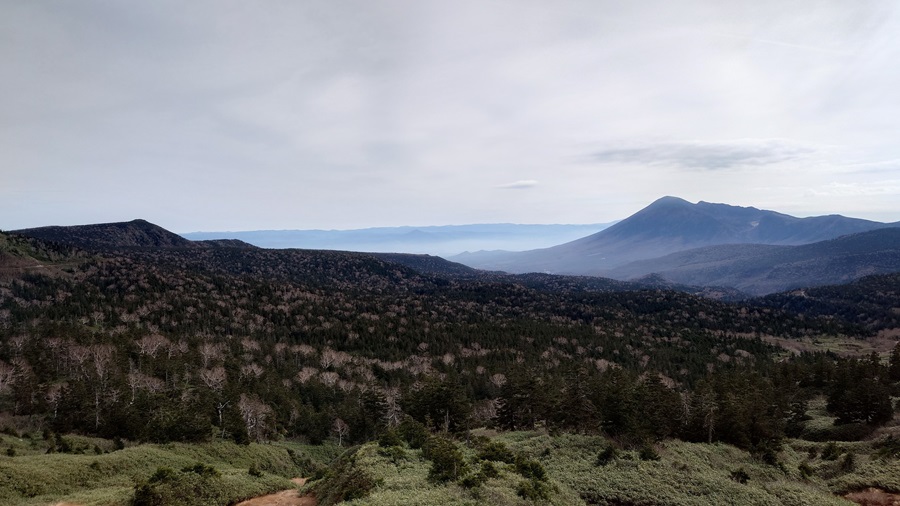
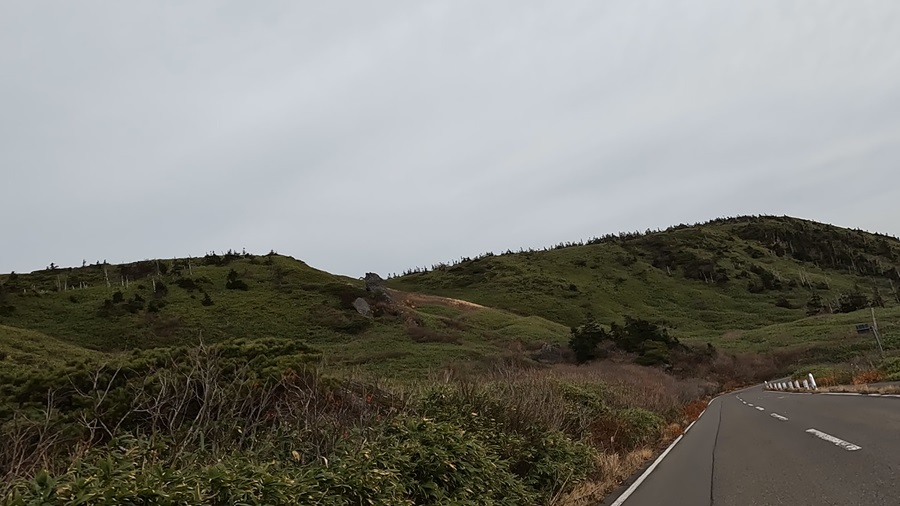
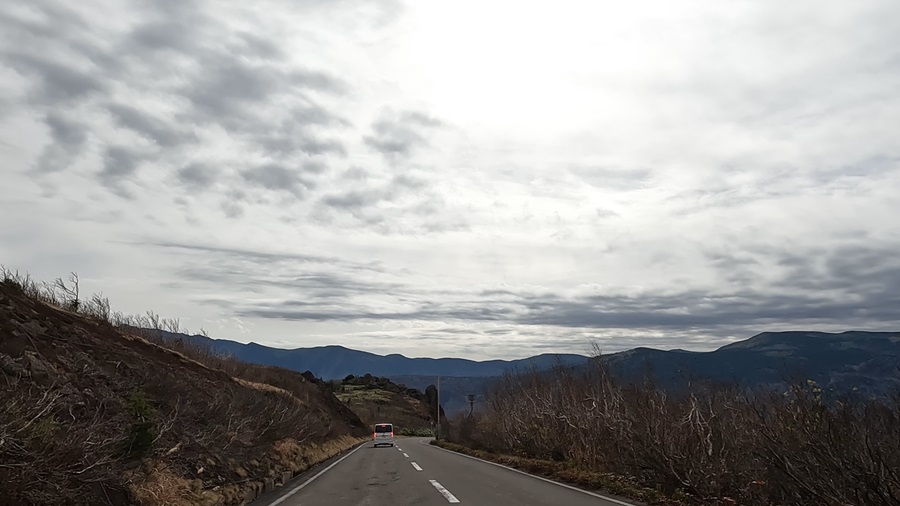
The Aspite Line branches off from Route 341, cutting across Hachimantai from east to west and leading out to the northern foothills of Mt. Iwate. It’s a winding road that feels like it’s carving through the mountains.
If you hike about 30 minutes from the highest point rest house, you can reach the summit of Hachimantai. Unfortunately, I had to skip the climb this time due to time constraints. It’s a bit of a shame, especially with the autumn colors in full bloom.
But since it’s just the neighboring prefecture, maybe it’s not so bad to leave a few spots unchecked—gives me a good reason to come back next time.
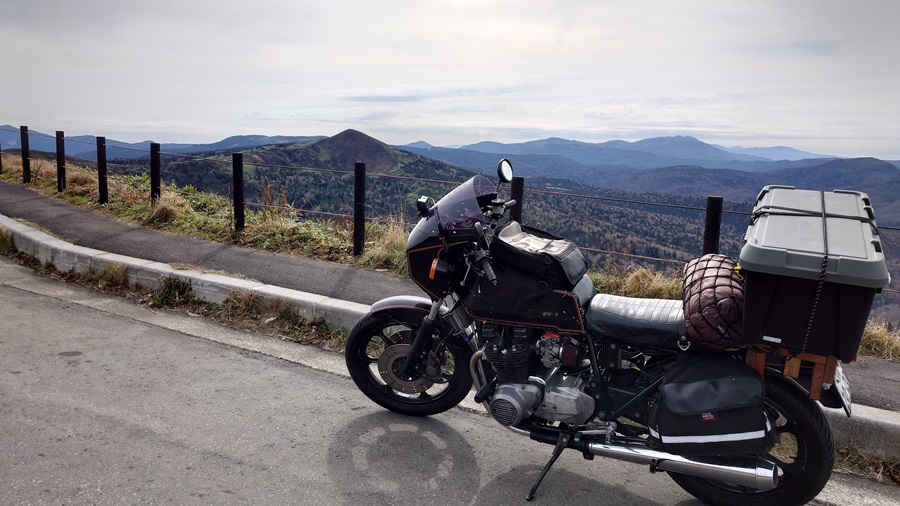
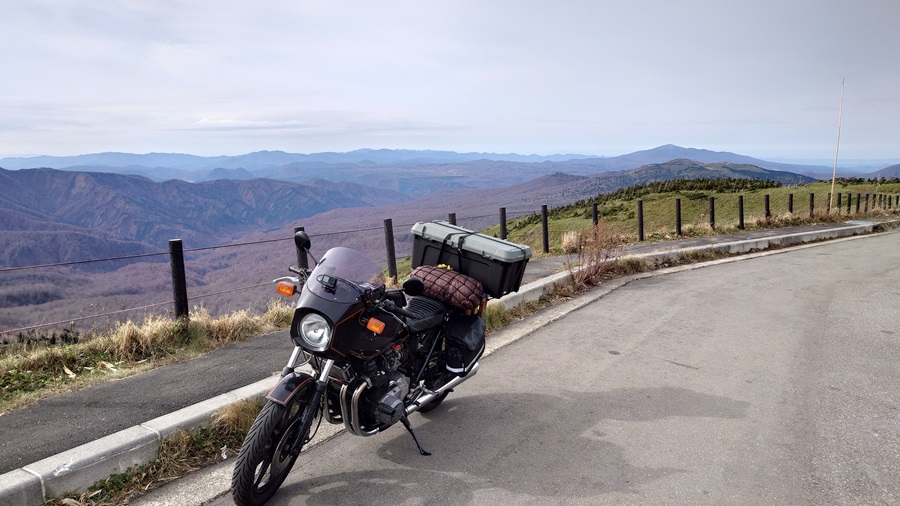
The photos probably don’t capture even a tenth of the beauty, but honestly, I’d say it rivals Nagano’s Venus Line. It was a pleasantly unexpected surprise.
For someone living in the Tohoku region, making it all the way to the Venus Line is pretty exhausting, but Hachimantai? That’s doable as a day trip—no problem at all.
From Morioka City, I head toward Tono
After coming down the Aspite Line and getting close to the Tohoku Expressway, the temperature rises noticeably. I take off my overpants and set my sights on Tono.
Having spent so much time riding on deserted roads, the bustle of Morioka City feels almost surreal—or more like I’m being dragged back into reality.
Sitting on a fully loaded bike among lines of cars carrying people going about their everyday lives makes me feel a bit out of place, maybe even a little embarrassed.
I quickly make my way out of the city and head south on Route 396.
As I go further south, the scenery gradually shifts into that quintessential “Japanese countryside” feel.
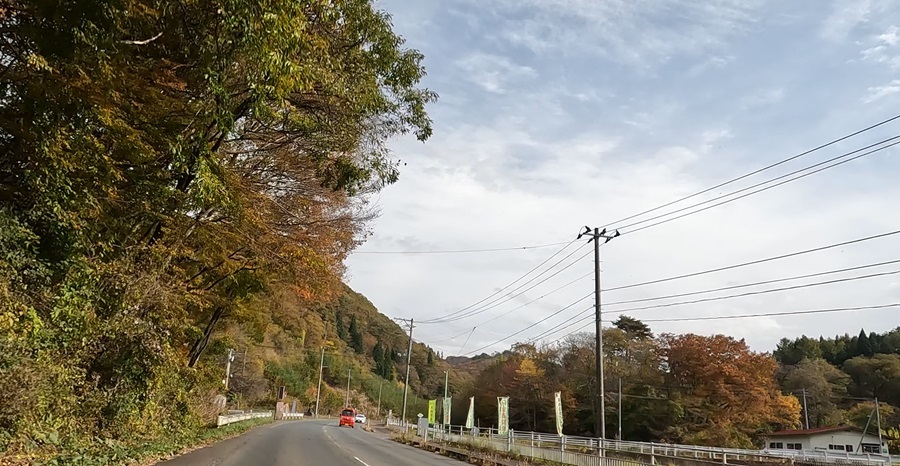
After about an hour and a half of riding from Morioka City, I finally arrive in Tono.
I’ve stopped by here before.
https://z1r2takeda.com/en/2022-may-iwate-aomori/
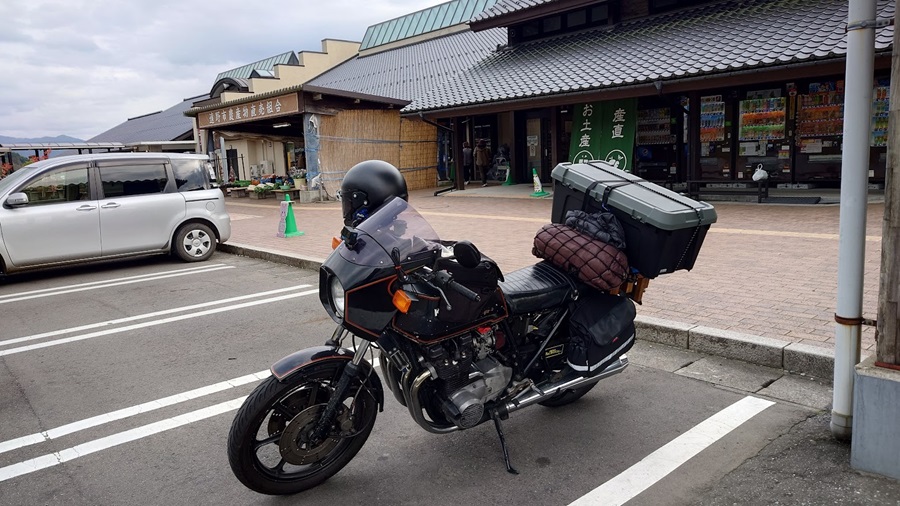
First stop is “Michi-no-Eki Tono Kaze no Oka” to check out some souvenirs.
This place is always bustling, not just because of the local products and restaurants, but also because they host various events.
Even though it was a weekday and well past lunchtime, the place was still lively with visitors.
I could have grabbed lunch here, but I actually had my sights set on a specific spot in Tono: Jingisukan Anbe.
From the roadside station, I headed down Route 283 toward the center of Tono, then turned into a side street.
The restaurant is tucked away in a residential area.
** Jingisukan (or “Genghis Khan”) is a Japanese grilled mutton dish, named after the legendary Mongolian warrior.
The meat—usually lamb or mutton—is marinated and cooked on a dome-shaped metal grill, often served with vegetables like onions, bell peppers, and bean sprouts.
It’s especially popular in Hokkaido but also has strong local followings in other regions, like Tono.
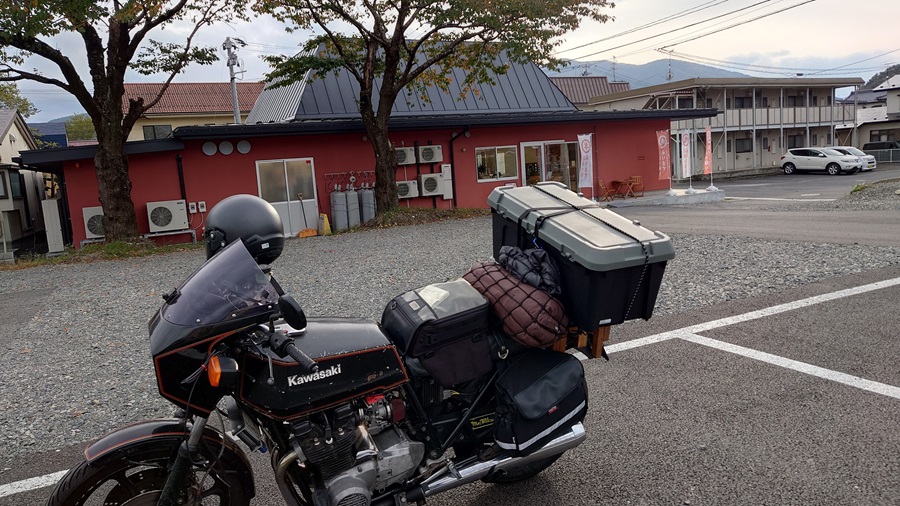
Just when you start wondering, “Is there really a place like that around here?”, it suddenly appears.
It’s a renowned spot in the Tono area, known for its surprisingly high consumption of Jingisukan—almost on par with Hokkaido.
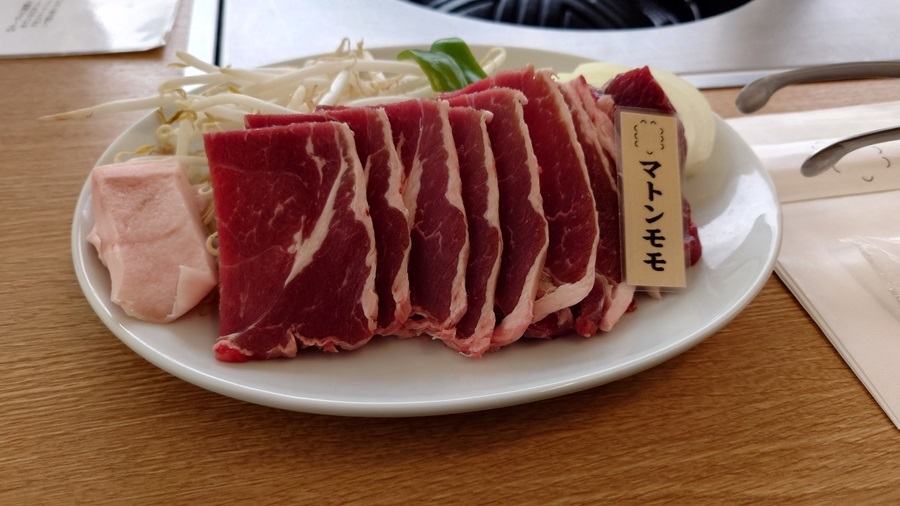
As a mutton lover who always orders mutton curry at Indian restaurants, there was no way I wasn’t going for the mutton thigh set meal.
With rice, miso soup, and sides included, it’s a pretty reasonable 1,380 yen.
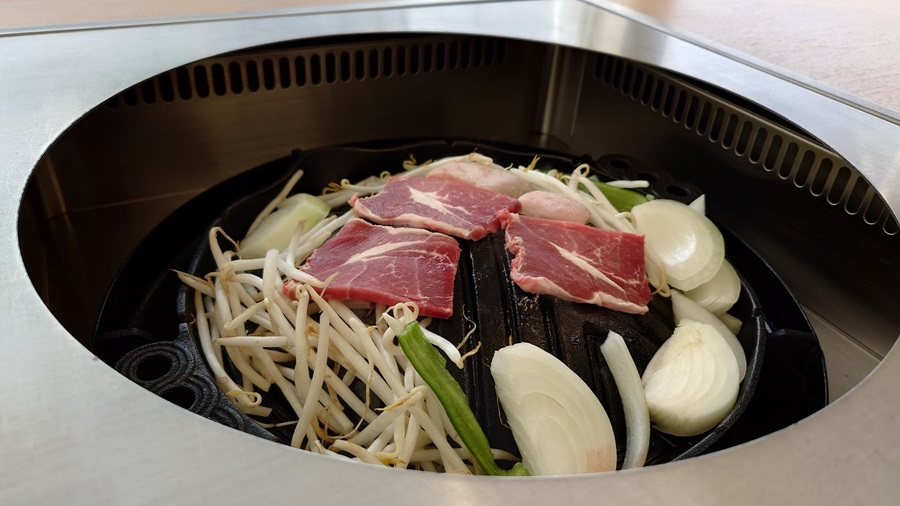
The meat grilled on the uniquely shaped Jingisukan pan is absolutely delicious.
Honestly, I would have loved to try the lamb chops too, but that felt a bit too extravagant for lunch.
Guess I’ll save that for next time.
The journey’s final stretch takes me onto the Sanriku Expressway
The final leg of the journey takes me from Tono out to the coast, then onto the Sanriku Coastal Road heading toward Sendai.
When I got on the expressway, it was still kind of dusky, but by the time I got off, it was pitch black. That’s November for you—completely dark before 5 p.m.
It’s not just the darkness that’s the issue, though—the temperature drops sharply, and visibility from other vehicles gets worse too. Better to plan without pushing the limits.
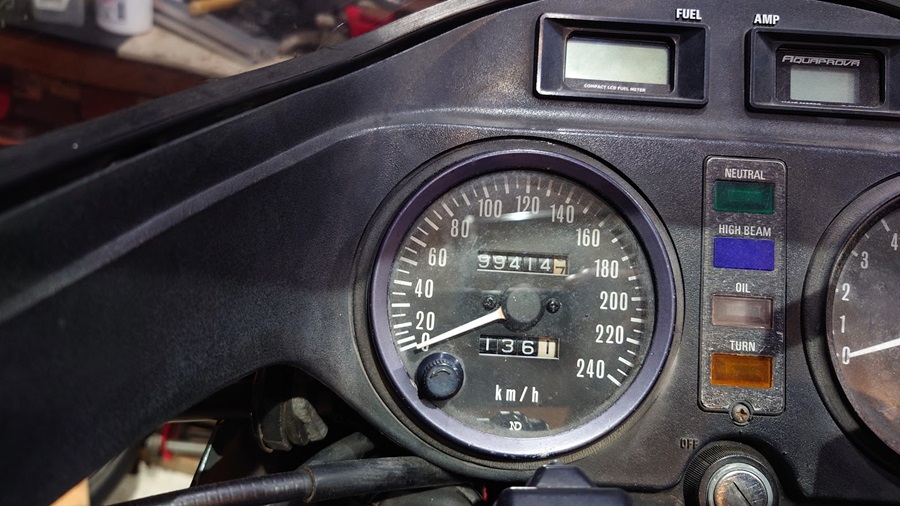
Today’s total distance: 423 km.
In two days, I covered about 777 km.
As I’ve said many times before, the greatest value is getting home safe and sound.
APPENDIX: Travel Gear
Pannier Bags
These bags were incredibly useful during my tour around Australia, but I figured I wouldn’t need them anymore in Japan, so I donated them to a backpacker.
What makes these bags so convenient is that they allow me to store gear I don’t need to bring into the tent—like cooking tools and spare parts—while keeping everything organized. They offer the same convenience as pannier cases.
Moreover, in the event of a fall, the pannier bags act as a cushion, helping to protect both the bike and myself. I truly believe that during my time in Australia, I survived several falls and even a tumble down a cliff thanks to these pannier bags.
Storage Cases
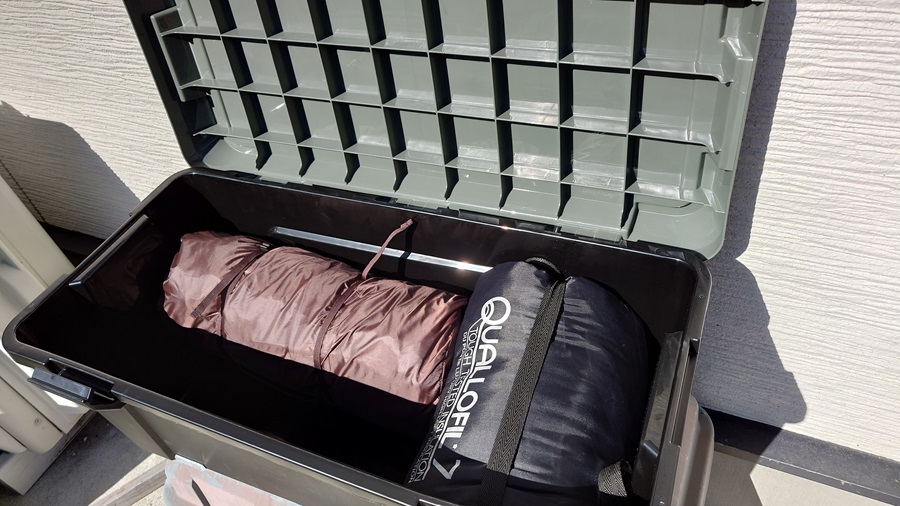
A few years ago, I started using a storage case bought from a home improvement store, but since its storage capacity wasn’t great, I decided to replace it.
With this new one, both the tent and my winter sleeping bag fit inside, though I might not be able to fit much clothing. For this trip, I strapped the tent to the outside.
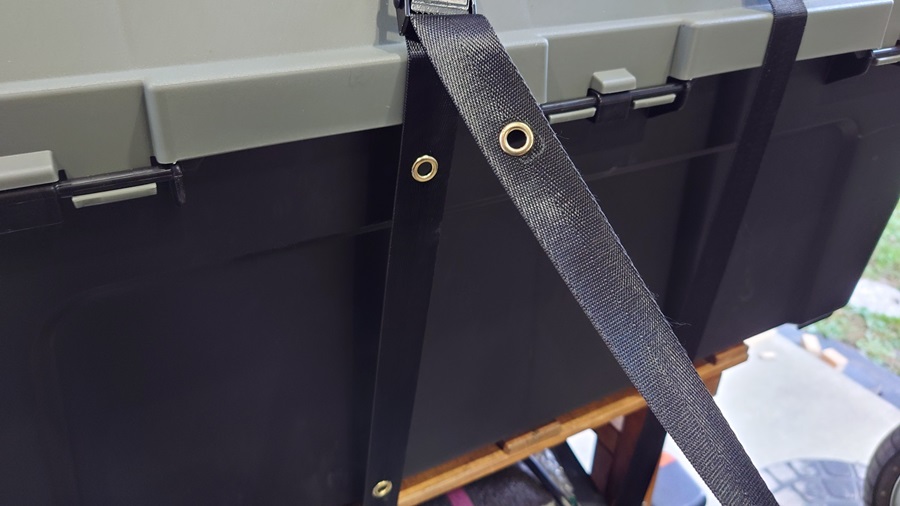
The case is secured with a lashing strap, but to prevent the strap from loosening in case there’s an issue with the buckle, I punched holes and reinforced them with eyelets.
I also set up two backup points with carabiners for extra security.
As long as the carrier doesn’t detach, the case should stay secure.
You might be able to spot it in the picture, but I attached reflectors to the back and both sides of the case to improve visibility at night.
Rear Carrier
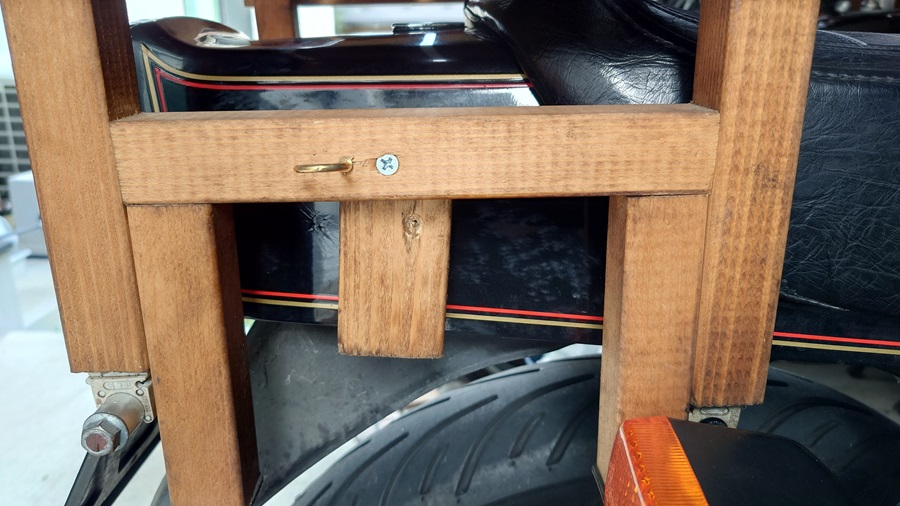
Not just a carrier, but also a table and a chair—an excellent multi-purpose item (if I do say so myself).
Upgraded from a 4-point mount to a 6-point mount, with added reinforcements for increased rigidity.
Side Stand Plate
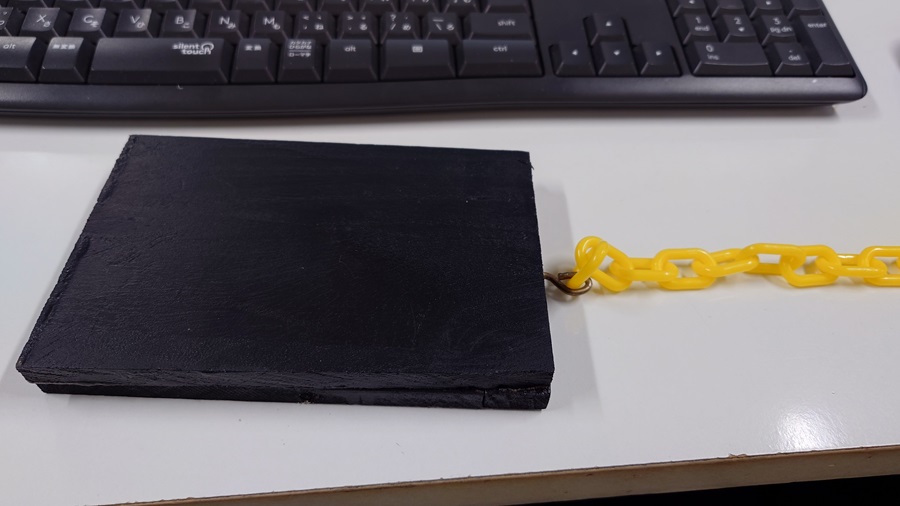
You’ve probably experienced the frustration of your side stand sinking deeper into the ground when parking on uneven terrain, right? Especially at campgrounds.
Normally, I’d use a random stone or piece of wood lying around as a makeshift solution, but this time I decided to make my own plate.
It’s really nothing special—just a piece of wood I had at home, sprayed with rubber spray for anti-slip protection.
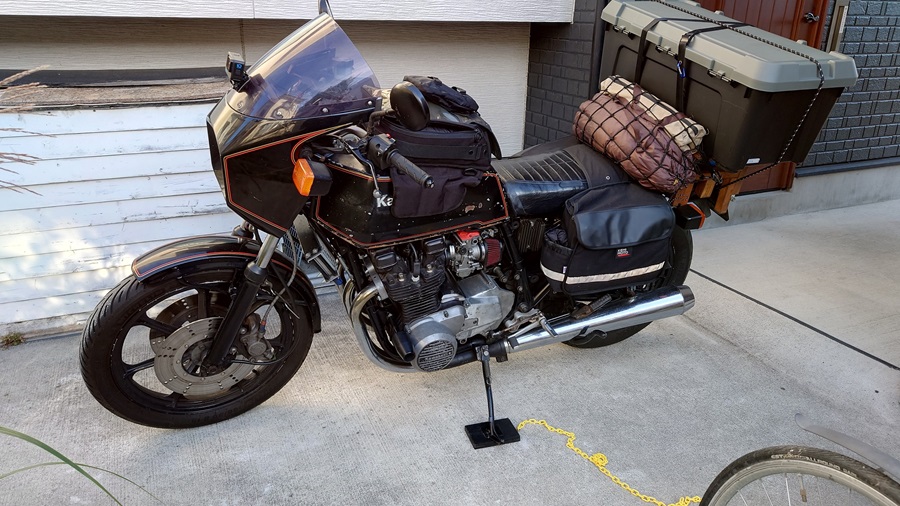
Here’s how it looks when in use. You might be wondering, “What’s the yellow chain for?” Well, without it, I wouldn’t be able to retrieve the plate after mounting the bike (laughs).
By grabbing the end of the chain and pulling, the plate comes right to me. I chose a plastic chain to avoid scratching the bike and went for a bright color so I wouldn’t forget it.
Another great feature is that it sticks with a magnet—super convenient!
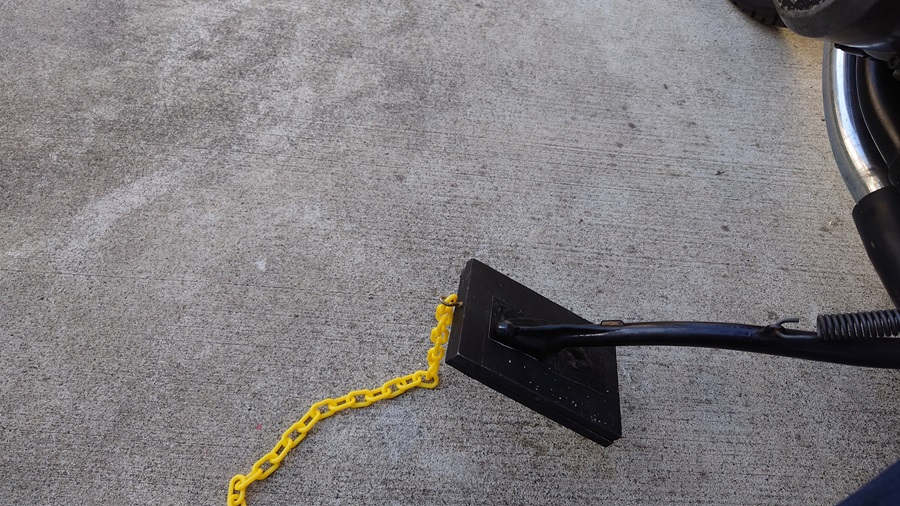
It might not be fully clear, but I’ve embedded a zirconium magnet in it, so it sticks to the steel side stand.
After retrieving it, I can also attach the plate to the tank. It’s a simple but effective design for convenience.
Touring Net
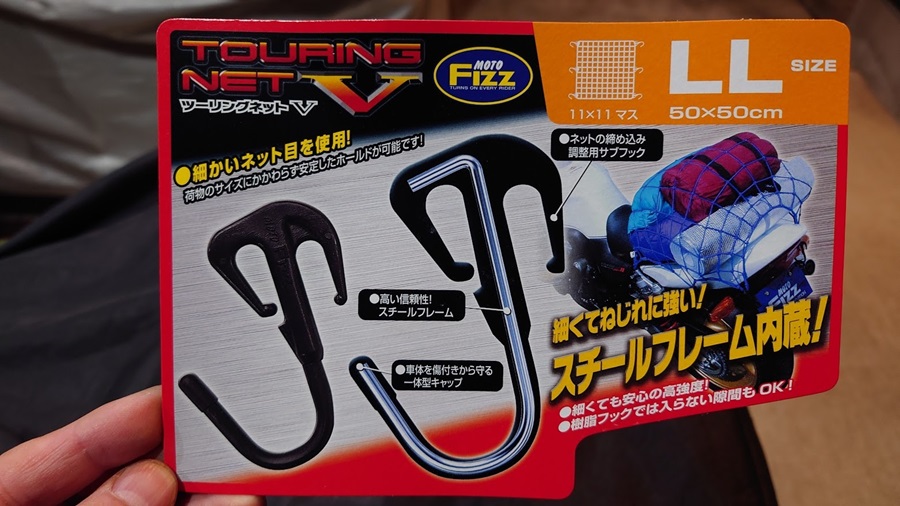
I had been using a net from a certain manufacturer, but due to hydrolysis and aging, its lifespan was about two years. Even though I only go on long-distance trips a few times a year and store it in a place away from direct sunlight when not in use, it still becomes unusable after just two years.
This time, I switched to a TANAX net, and I’m happy with it so far.
The hooks are made of metal and it has additional sub-hooks, which makes it much more convenient to use. Hopefully, it will last longer.
服装
A bit of a memo for myself.
For this trip, I selected my clothing assuming a high of 17°C and a low of 5°C. Leather was no longer an option, so I went with long-sleeved, warm, functional underwear. On top of that, I wore a down vest and a fleece.
I added a neck warmer, and for the outer layer, I chose a mix of synthetic and down materials.
For the bottom, I wore warm-treated jeans and overpants.
Just in case, I packed winter gloves and plenty of hand warmers, but luckily, I didn’t need to use them.
Choosing the right clothes for this time of year is really tricky.
And despite wearing all that, I’ll still say—outerwear shouldn’t have a hood.
The faster you go, the more your head gets yanked back (laughs).


