
あれこれ調べたら、Z1Rのインジケーターパネルによさげな商品を見つけました。
After some research, I found a product that seems suitable for the indicator panel of the Z1R.
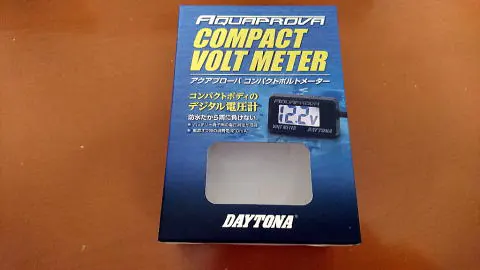
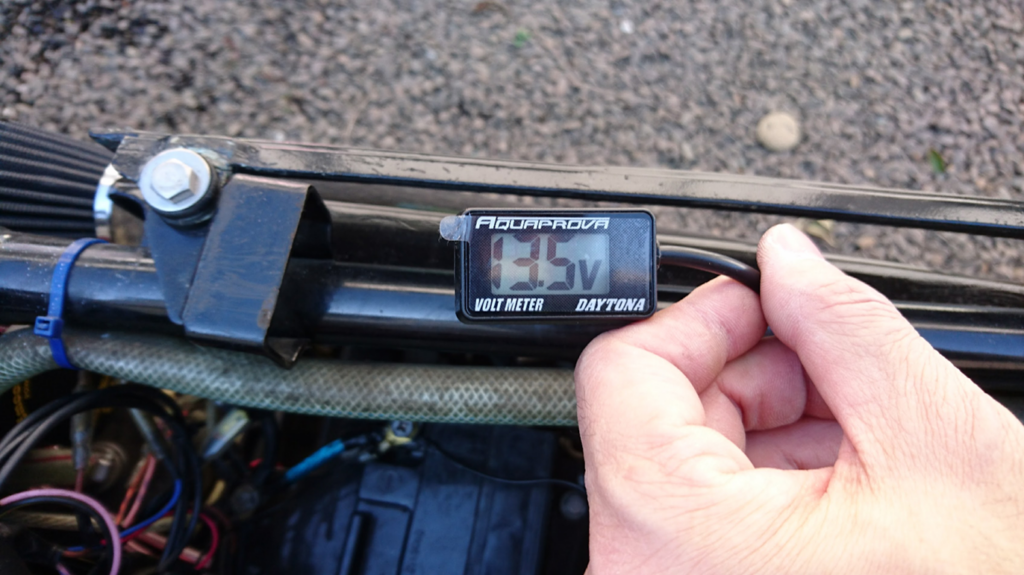
DAYTONA バイク用 電圧計 測定可能電圧DC7.5~18V AQUAPROVA (アクアプローバ) コンパクトボルトメーター 92386
DAYTONA Motorcycle Voltmeter Measurable Voltage DC 7.5~18V AQUAPROVA Compact Volt Meter 92386
前に買ったのも「防水」だったのですが、言うだけはタダですからね(笑)。
The one I bought before was also “waterproof,” but talk is cheap (laughs).
ちなみに、こちらはIPX7相当。
By the way, this one is equivalent to IPX7.
「一時的(30分)に一定水深(1m)の条件に水没しても内部に浸水しない」
“It does not allow water ingress under conditions of temporary submersion (30 minutes) at a specific depth (1 meter).”
ということです。
That’s what it means.
もっとも、防塵がXですから、防塵テストはしてないということになります。
However, since the dustproof rating is X, it means that it hasn’t been tested for dust protection.
電圧が一定以下になると、真っ赤になって知らせてくれるようです。
When the voltage drops below a certain level, it turns bright red to alert you.
定価2500円と若干お高いようですが、先端にクワ型端子がついた150cmのハーネスが付属するほか、結線コネクターも入ってます。
Although it’s slightly expensive at a list price of 2500 yen, it comes with a 150cm harness with forked terminals at the end and connection connectors.
何より素晴らしいのが、4極リレーを使わなくてもよいところ。
The best part is that you don’t need to use a 4-pole relay.
結果的には安上がりなんじゃないでしょうか。
As a result, it might be more economical.
以前の配線を撤去。
Removing the previous wiring.
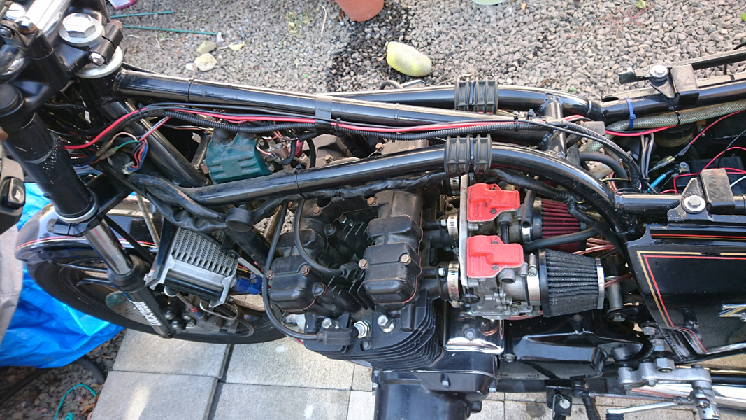
電圧計に使用していた四極リレーとも、おさらばです。
Goodbye to the 4-pole relay that was used for the voltmeter.
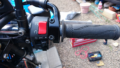
ちなみに、使用していたリレーはコレ。
By the way, this is the relay I was using.
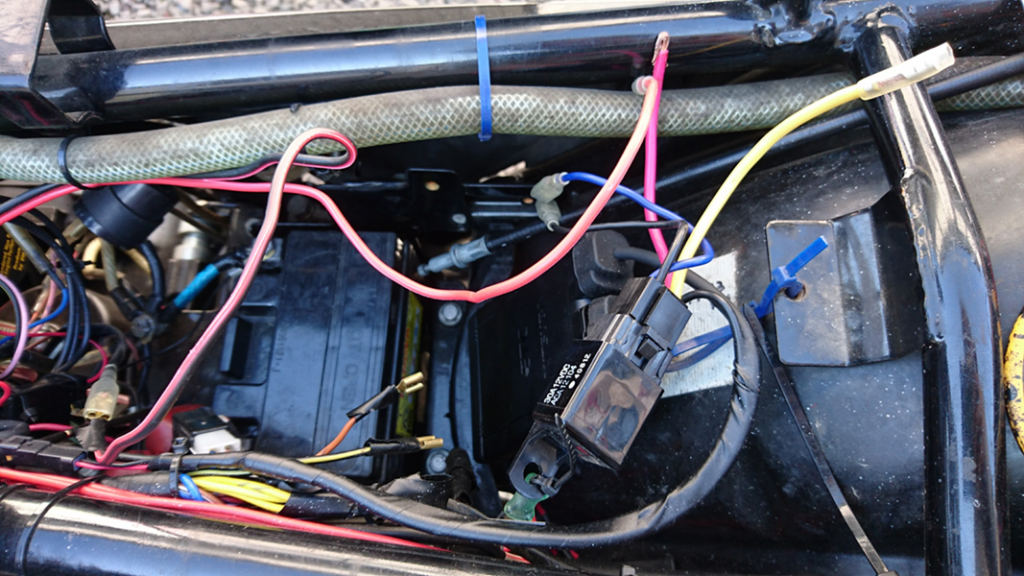
多分、またどこかで使う時がくるでしょう。
I will probably use it again somewhere.
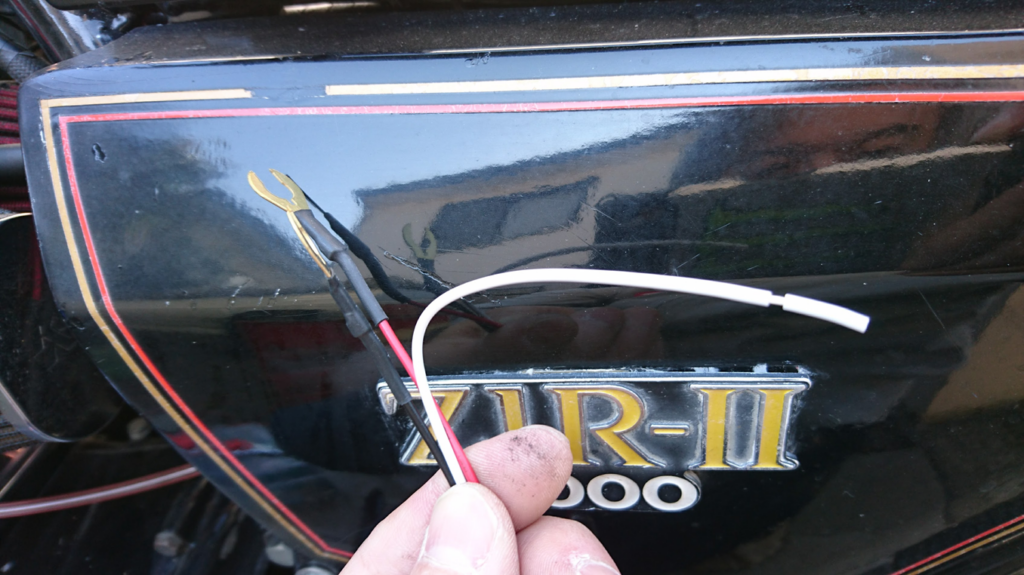
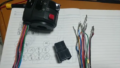
末端処理されているハーネス。至れり尽くせりです。
The harness is end-processed. It’s very thoughtful.
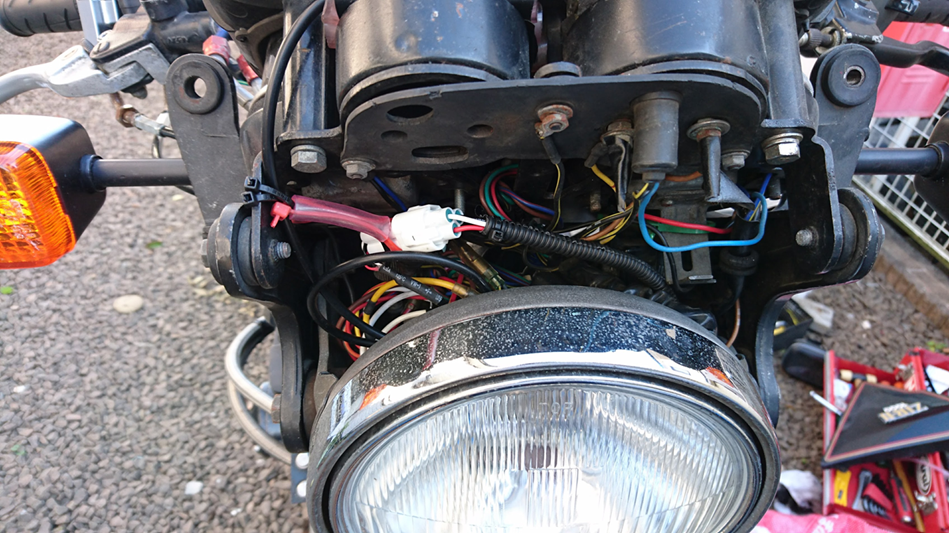
赤:バッテリーの+に繋ぎます。
Red: Connect to the positive of the battery.
黒:適当にアースを落とします。
Black: Properly ground it.
白:ACC電源。Kawasakiだと茶/白。
White: ACC power. For Kawasaki, it’s brown/white.
Kawasaki Z1R(ほかの空冷Zも)は「茶」ですね。
For Kawasaki Z1R (and other air-cooled Z models), it’s “brown.”
茶色の線は、ハーネスのあちこちから出てるので助かります。
The brown wire comes out from various parts of the harness, which is helpful.
レギュレータ側の調子が知りたいので、赤はバッテリーから頂きます。
Since I want to know the condition of the regulator side, I’ll take the red from the battery.
ACCだけで良い人は、メーター灯あたりから取ればいいんじゃないでしょうか。
For those who only need ACC, you can take it from the meter light area.
ただし、ACCから計測すると1Vくらい低い表示になるようです。
However, if measured from the ACC, it seems the display will show about 1V lower.
得体の知れない品物だと、この段階でハラハラドキドキするのですが、DAYTONAなので大丈夫でしょう。
If it were an unknown product, this stage would be nerve-wracking, but since it’s DAYTONA, it should be fine.
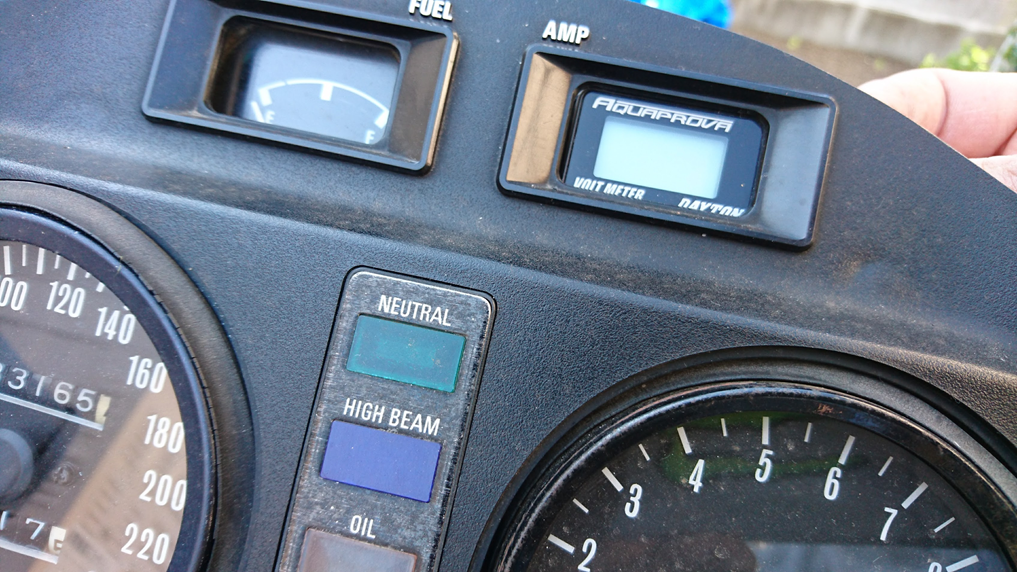
窓にもピッタリ。素晴らしい。
It fits perfectly in the window. Wonderful.
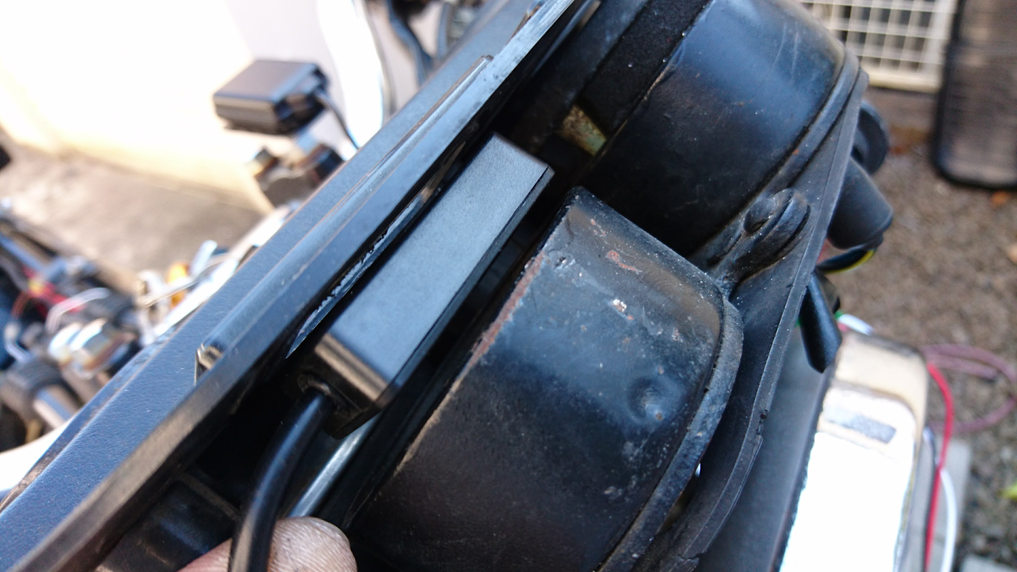
問題は、こちら。
The problem is here.
メーターステー?との隙間がこんなに空いています。
There’s quite a gap with the meter mount.
前の電圧計は本体に厚みがあったのとボディが大きかったので、クッション性のある両面テープで固定。
The previous voltmeter was thicker and larger, so it was fixed with cushioned double-sided tape.
写真撮るのを忘れてしまいましたが、今回は、径の大きい耐油チューブを4列くらい並べたものをスペーサーとして挟めました。
I forgot to take a picture, but this time I used an oil-resistant tube of large diameter lined up in about 4 rows as a spacer.
よそのサイトでは、スプレーなどの外ふたをスペーサーにしている例もありました。
On other sites, there were examples of using the outer lid of a spray can as a spacer.
そちらの方が、おさまりが良い気がします。
That might fit better.
カプラーは、同じく耐油チューブと結束バンドを利用してフローティング。
The coupler is also floated using an oil-resistant tube and cable ties.
振動でガチャガチャ動いたり、あちこちに当たるのを防ぎます。
It prevents rattling and hitting different places due to vibration.
カプラーから後ろのハーネスは、タンク辺りまでをコルゲートチューブ、そこから先はガラクタ箱に入っていた何かのスリーブで保護してやりました。
The harness behind the coupler is protected with a corrugated tube up to around the tank and then with a sleeve found in a junk box.
さすがに細い線だけでは心もとないので。
It’s a bit concerning with just the thin wires.
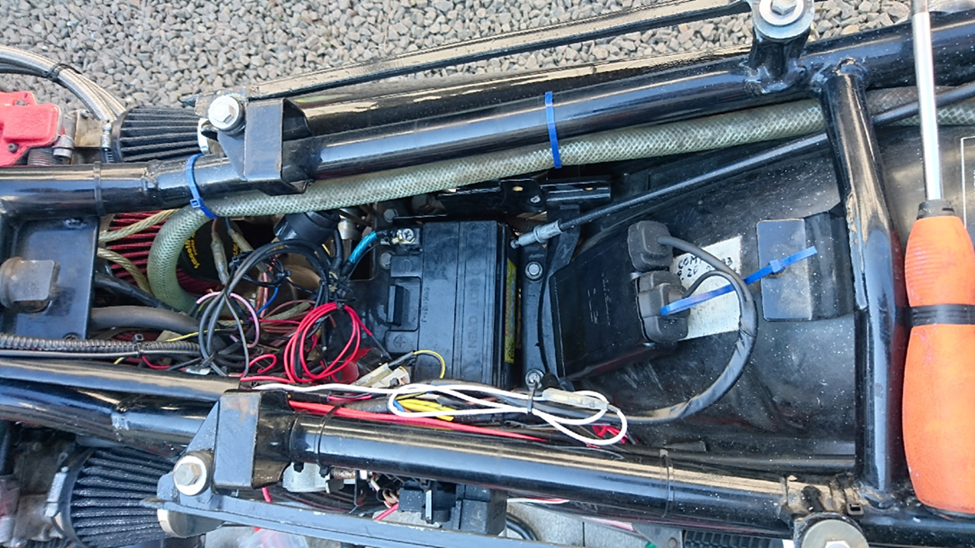
ETCのハーネスが、なかなかゴチャゴチャしています。
The ETC harness is quite messy.
センスよくまとめたいところです…
I want to tidy it up nicely…
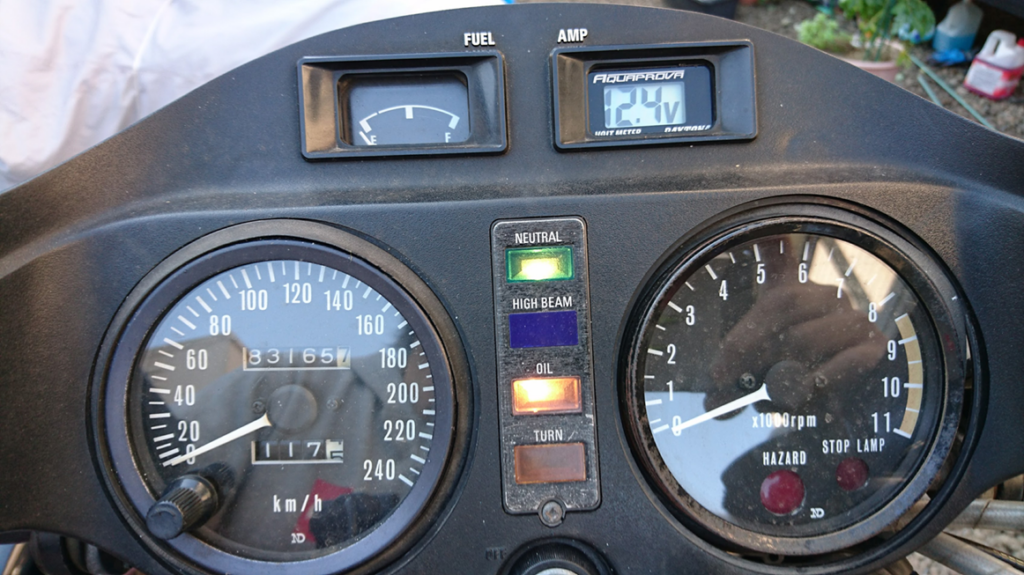
イグニッションON。無事に装着完了。
Ignition ON. Successfully installed.
次は…燃料計も一新しますかね?
Next… shall we renew the fuel gauge as well?
コメント